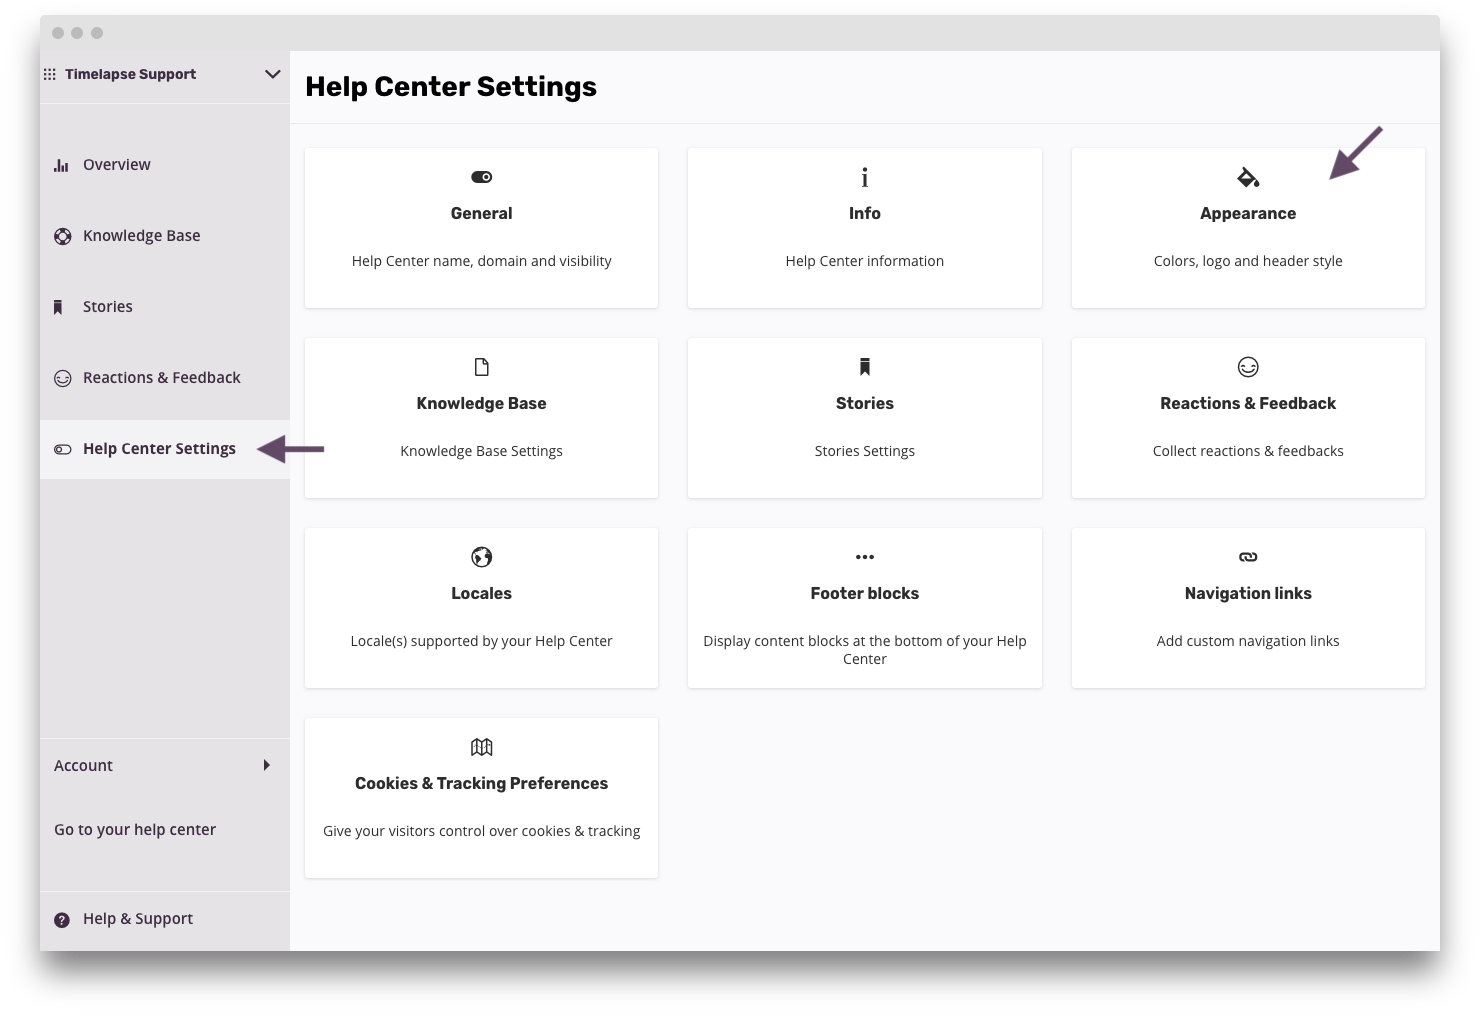
Changing colors and adding a logo
One of the first things you will probably want to do is change colors and/or add a logo.
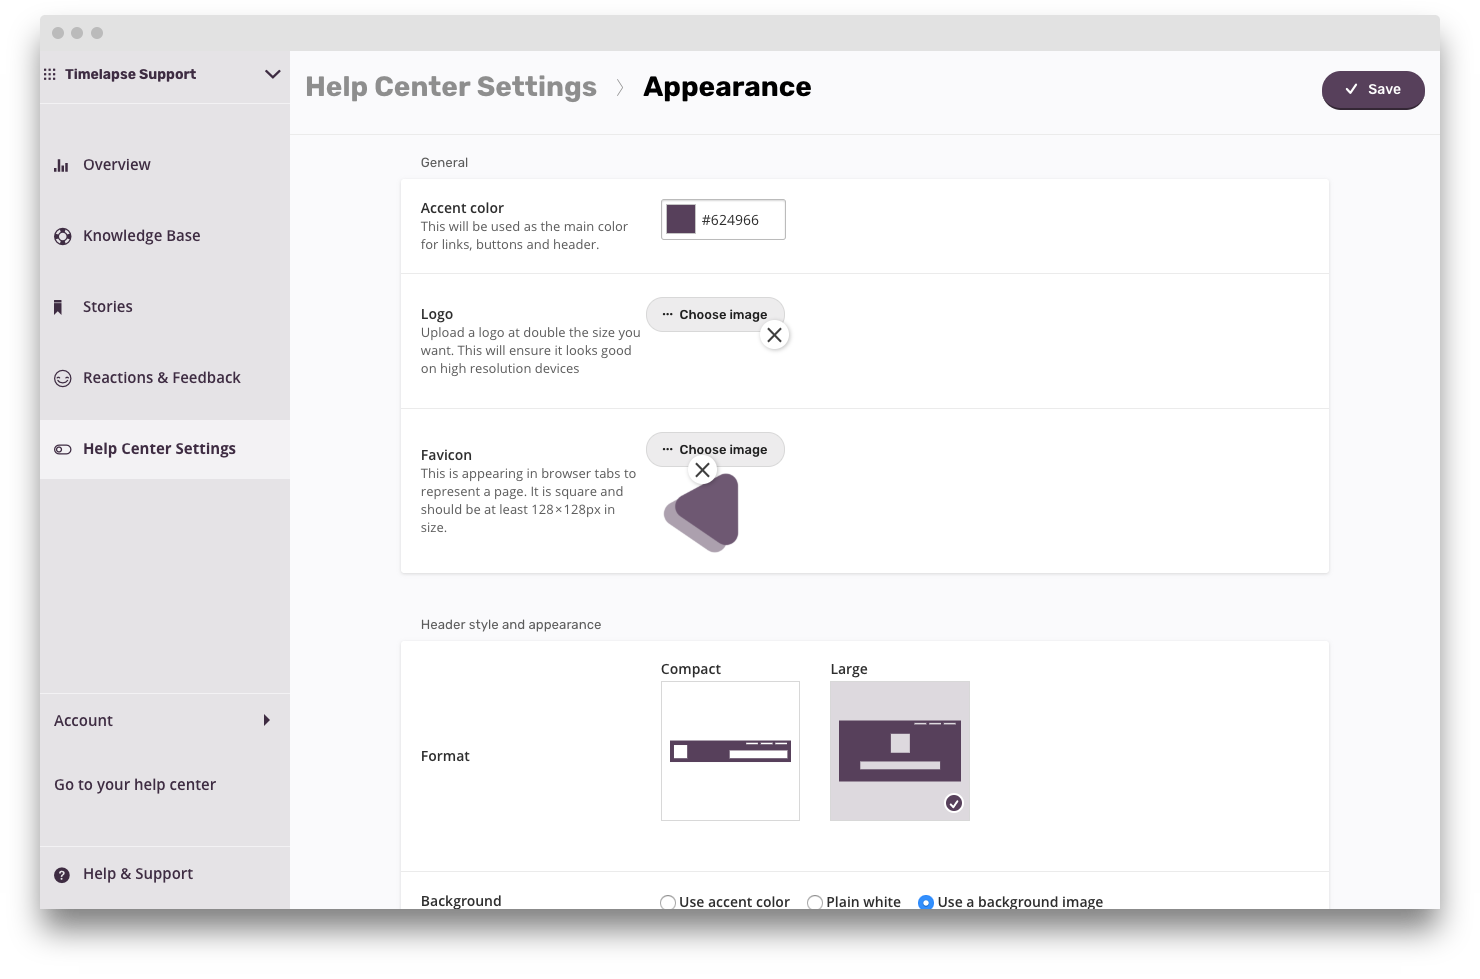
Picking an accent color
The accent color will determine the color used for links, buttons and some other visual elements.
The accent color will determine the color used for links, buttons and some other visual elements.
Uploading a logo
This logo will appear in the Help Center's header. Make sure you upload a logo at double the size you want. So if you want the logo to be 100x50px, upload a 200x100px image. Timelapse will automatically resize it and this will ensure it looks good on high resolution devices.
How did we do with this article?
 Cookies & Tracking